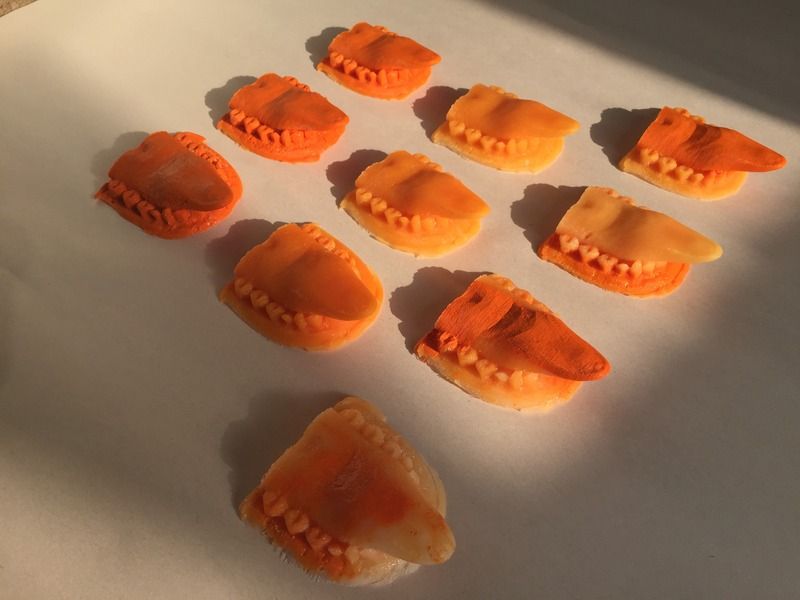
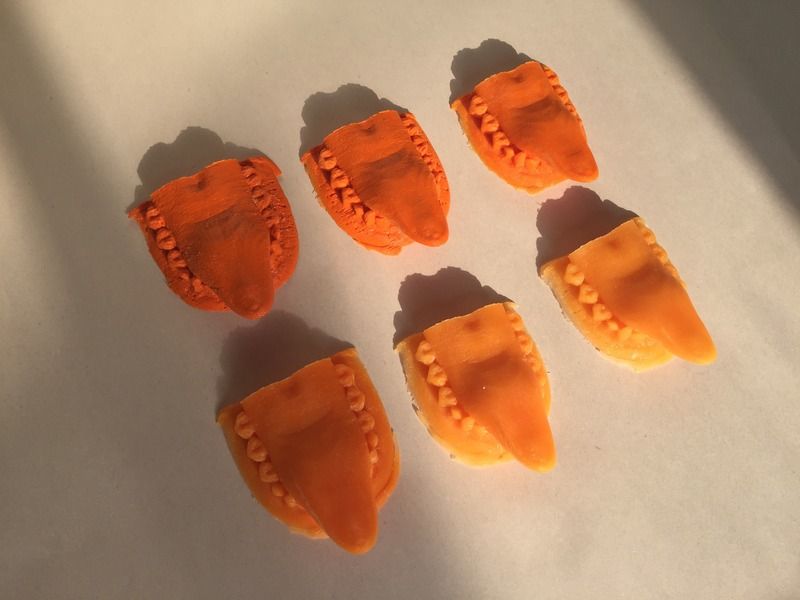
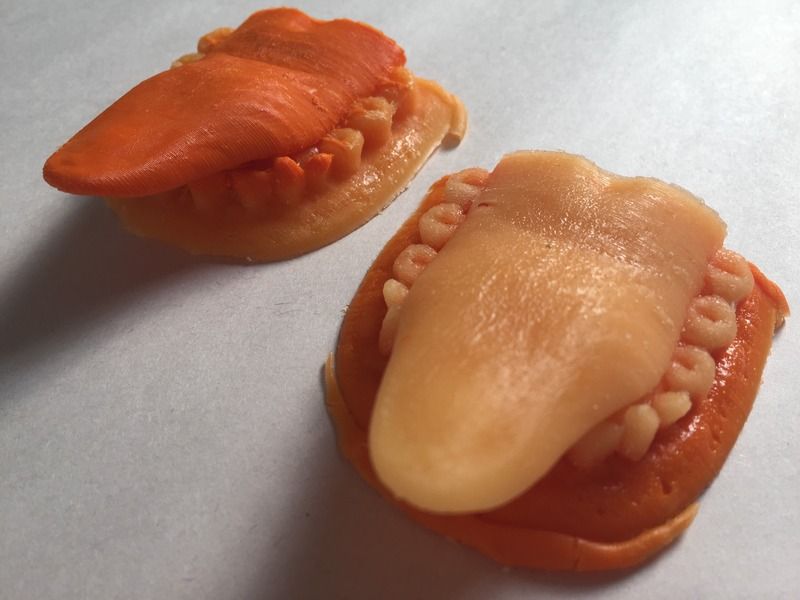
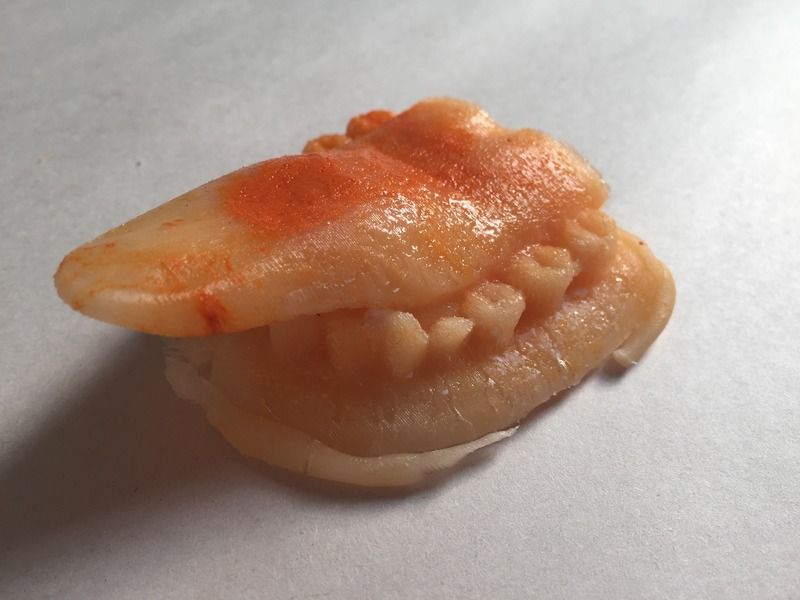
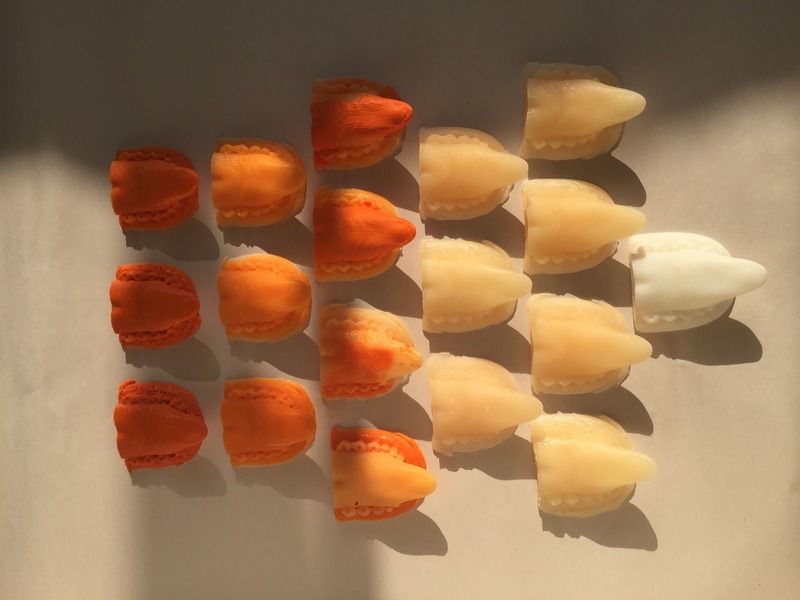
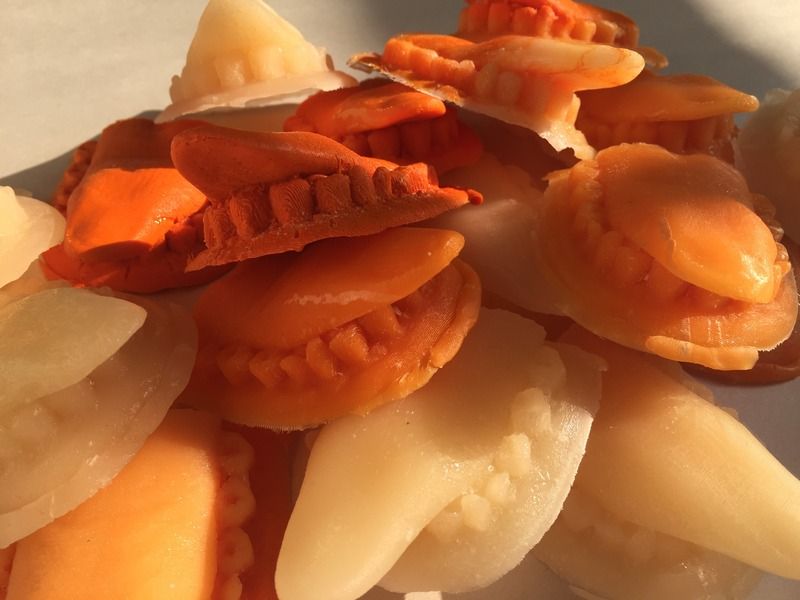
Following on from my initial experiment to make a polyurethane resin cast from the silicone mould of a set of 3D printed teeth, this time I incorporated a polyurethane pigment in order to colour the resin. This followed the same process as previously but once part A and B are mixed for the base resin a small amount of the pigment is added. Here a tiny amount goes a long way and it was surprising how little is needed in order to achieve a vibrant colour. The first experiments tested how much pigment is added as to what colour is produced, this then became a test to create a gradient going from an intense to a softer colour. This worked really well with the more vibrant colours bringing out the synthetic qualities of the object, particularly highlighting the plastic material used to create it.
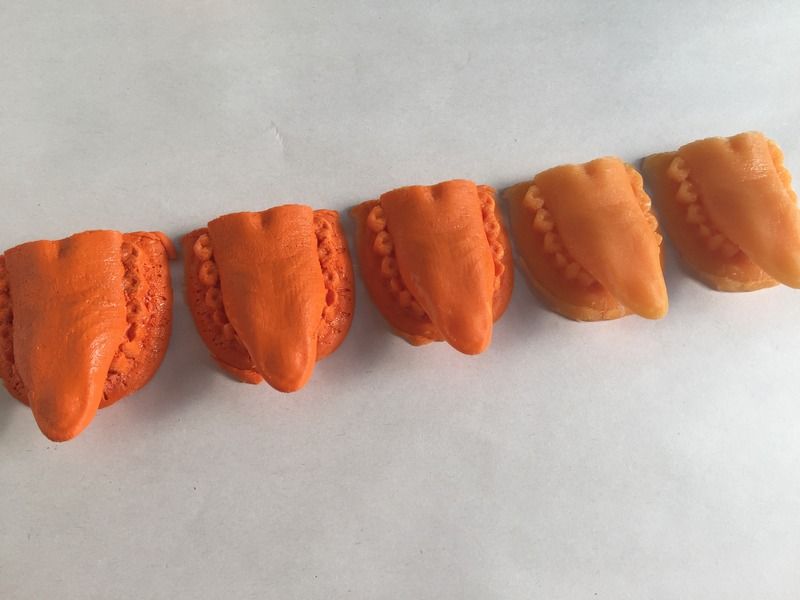
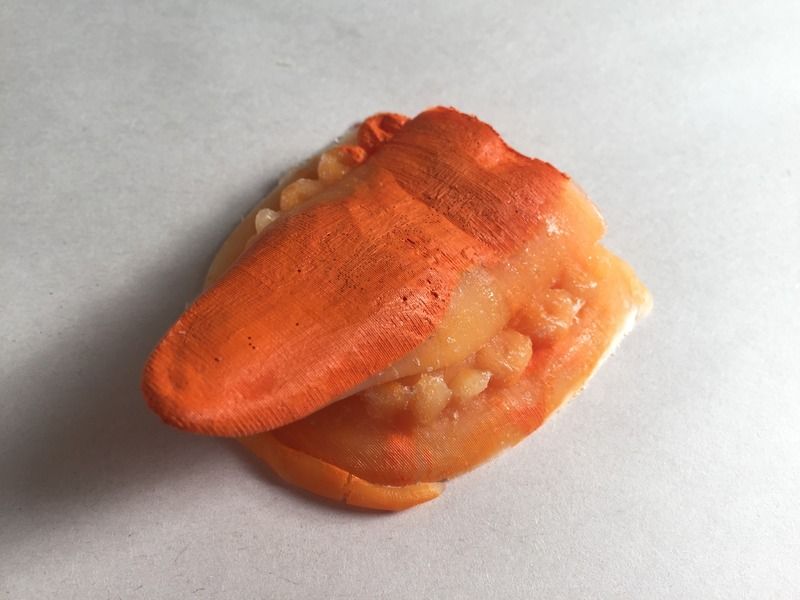
Next I experimented in using two different shades of resin in the same cast, this was done by mixing up either the lighter or darker colour and pouring this to half way and letting it set for 20 minutes. I then mixed the contrast colour and poured this to fill the rest of the mould, letting the full cast cure for an hour. I also tested creating a marbled effect by not mixing together the resin and pigment fully before pouring into the mould. Both of these gave interesting effects to show the layering of materials and bringing your attention to the materiality of them.
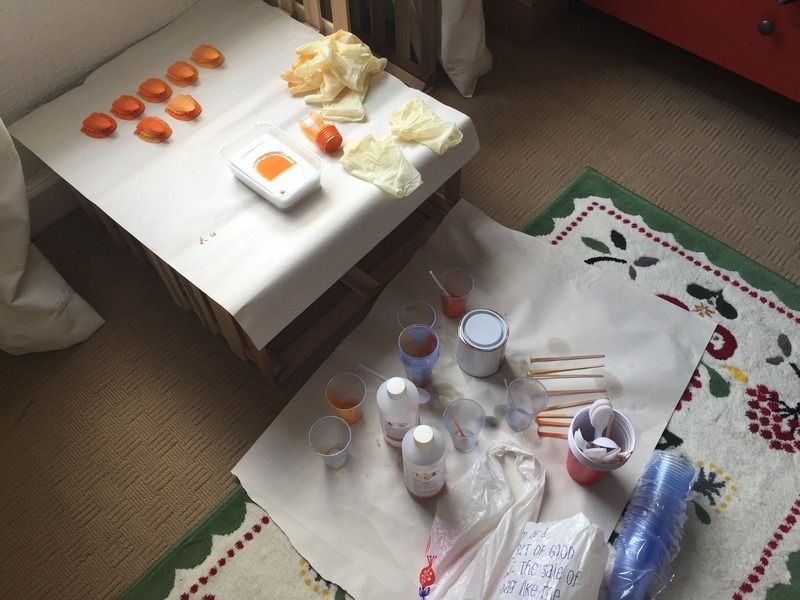
Here is the aftermath of my room after resin casting: